OAuth
Vanya can connect to a FHIR server using OAuth 2 authentication. Once the server is properly configured in Vanya, the app will make a call to the token endpoint to get a bearer token and use that bearer token for all requests until it expires.
To add a new server using OAuth 2, click on the “Add New Server” button on Vanya’s home page.

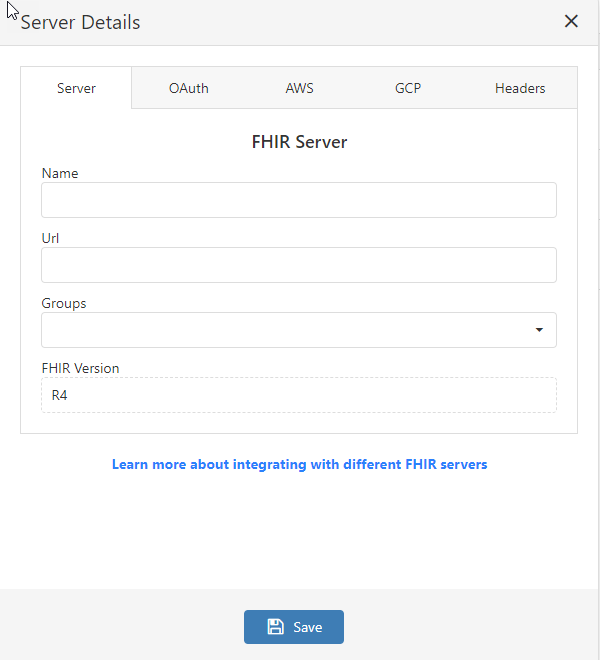
Fill in the server Name and URL on the Request Settings page. Vanya only works with FHIR version R4, so you’ll find this pre-selected. Other versions will come later.

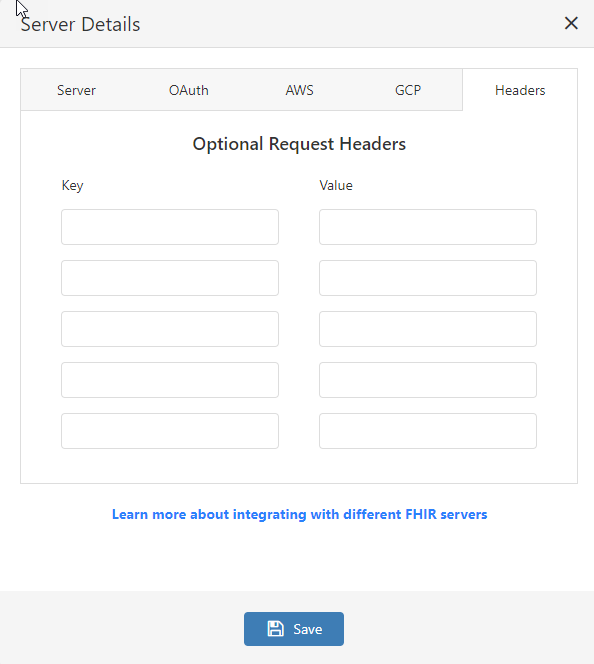
If the server requires any request headers, add the Key / Value pairs into the space on the Headers tab. Request headers may contain values such as API keys or other identifiers.

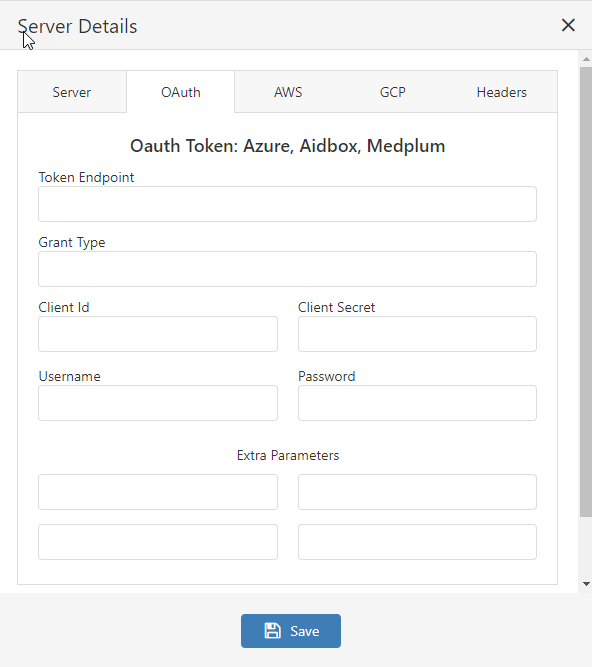
The “OAuth” tab is where you fill in the values required for Vanya to make a request for a bearer token. Most of the values are easily understood. The Token Endpoint should always be populated. Other fields vary depending on the authentication flow.
Two authentication flows are currently supported. The “client credentials” flow requires the Grant Type to be set to “client_credentials” and the Client Id and Client Secret fields to be populated.
The “password” flow requires the Grant Type to be set to “password” and the Username and Password fields to be populated. A Client Id may also be required depending on the server.

The Extra Parameters section should be used for any values required by your token endpoint but not already filled out in the previous section. These are Key / Value pairs, where the first input contains the key and the second the value. Examples are “resource”, “audience” and “scopes” for Smart on FHIR.
Save the changes to exit the dialog, then click Connect next to your new server. If a failure message appears, go back and look at all the values you’ve entered, and refer back to your FHIR server configuration settings to ensure everything is correct.